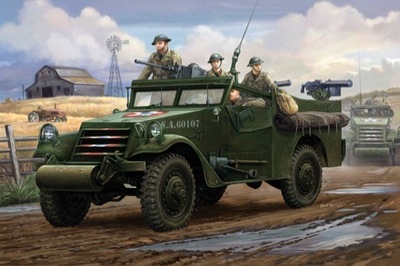
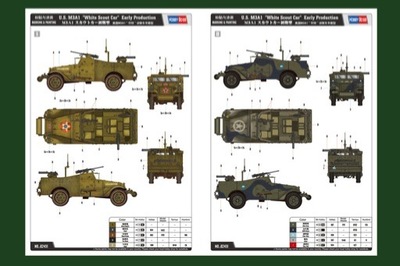
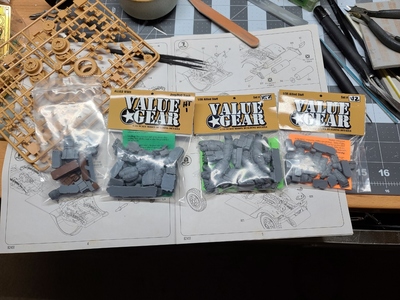
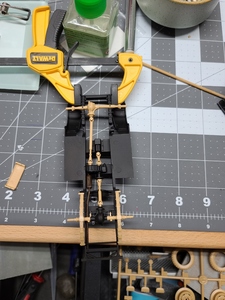
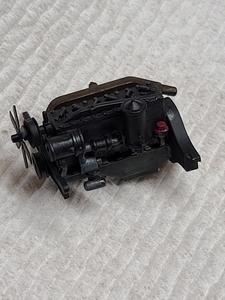
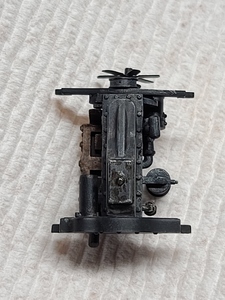
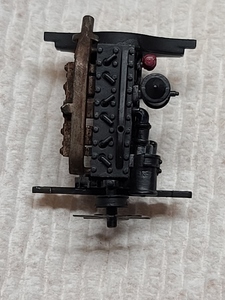
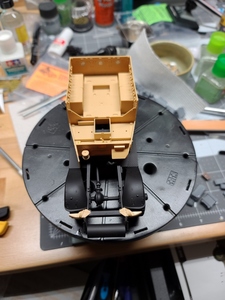
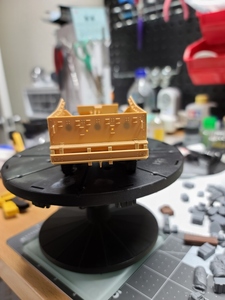
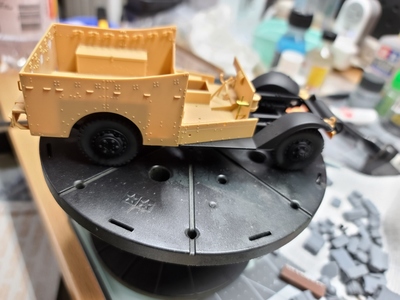
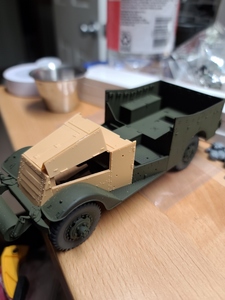
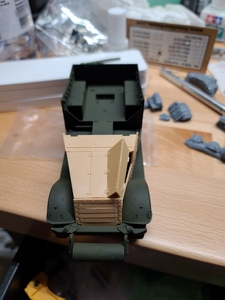
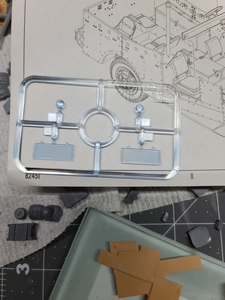
The scout car made it in so I'm thinking about starting on it before finishing the Sherman or work on both. Also thinking about going with the olive drab/nato black camo and then figure out which side will be open for the engine to be worked on. 8 sprues, 1 clear part sprue and PE.
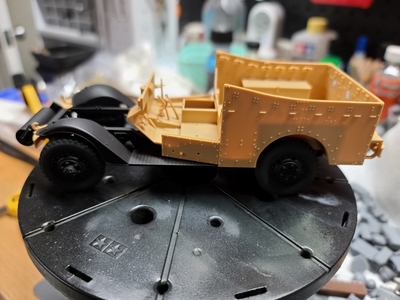
After scouting out this scout's build and the fact that it will be open being repaired, this will be build sections and paint them has this is built. The exhaust is something I normally paint off the vehicle and then install it after the vehicle is built and painted. Well it turns out that this won't be the case here as after you install the exhaust more parts go over it making it almost impossible to install at the end without damaging it or scratching the paint off.
So it will be painted and weathered and then I'll spray on a few coats of chipping medium on the exhaust then it will be installed, then after the vehicle is built and painted I'll go back and remove any paint that was sprayed on it. (sounds like a plan to me)
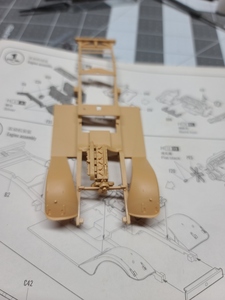
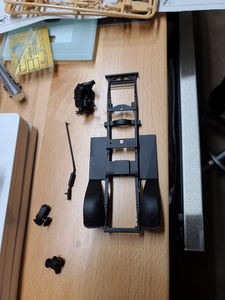
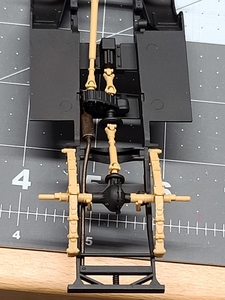
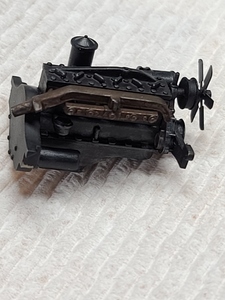
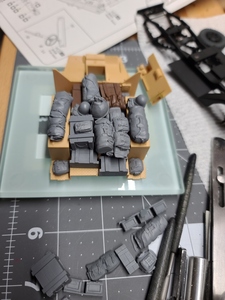
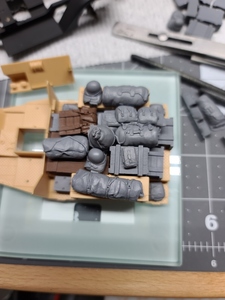
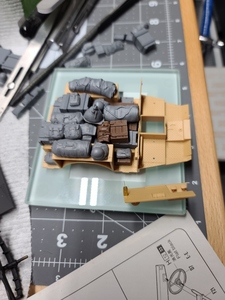
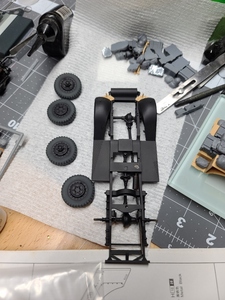
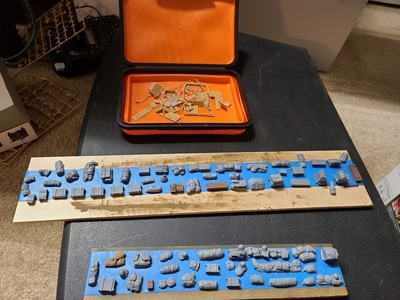
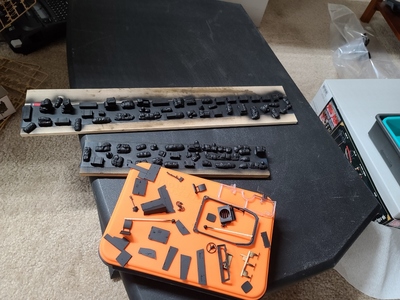
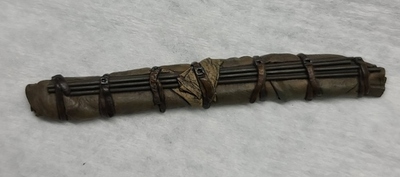
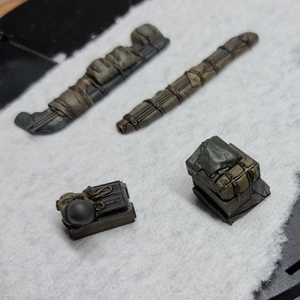
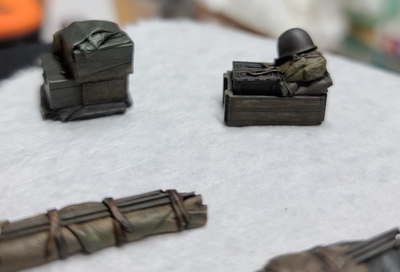
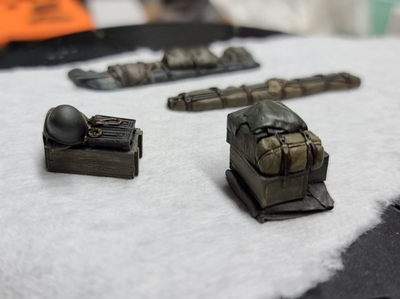
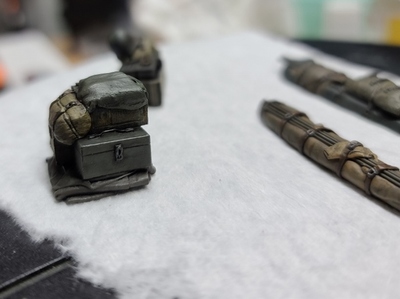
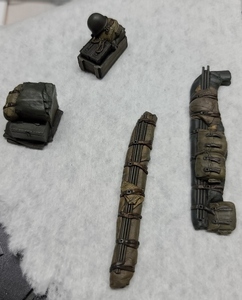
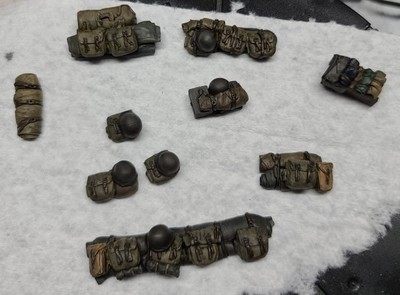
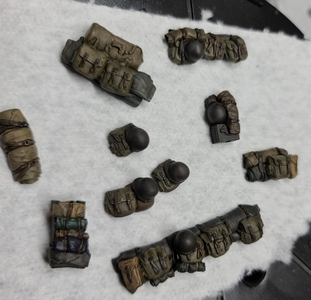
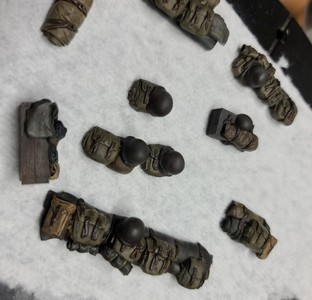
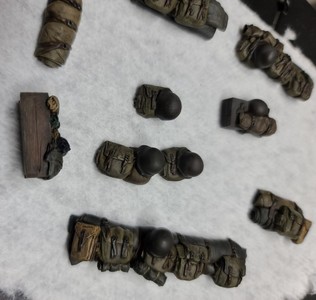
After an almost 2 day break (no AC one day and installing a Nest cam today) I finally made it back to work on the engine and chassis. Also got in stowage from Value Gear Details, the stowage will be for the scout cars and Sherman. For more links Click here
Was sitting here looking at the back end of this scout car and thought about not adding the seats and use the this for stowage. This is not the final arrangement, just getting the feel for the look.
Thoughts about the idea are very much welcome
Working on the chassis, next is to primer the last parts (I forgot about) on the front bumper. Then I can do the body color which the last thing needed on the tires.
Got the stowage wet sanded and cleaned up of flashing now ready for washing then onto black primer. Before I spray the stowage I'm going to finish cleaning and fitting the rest of the outer panels, doors and windshield frame with armor plate which will be open. For the headlight lens and windshield I'm going to light spray Tamiya X-23 Clear Blue.
No pictures yet as I've been moving at a snails pace on this project as a new PC has been keeping me busy along with building International Modelers for the ones that want a place to post but not on here. I'll be posting links to here on there, so feel free to use either.
Nothing like activating a plan just to find out you are out of the paint (Tamiya X-23 Clear Blue), so onto plan B and I think it looks better then plan A would of turned out.
Plan B (Alclad II Candy Cobalt Blue ALC 710 then Gloss Klear Kote ALC 310)
Time for masking and finishing off the rest of the plate armor
I have to say, tbose look fantastic!
Value Gear is probably one of the best stowage sets you can buy!
You certainly do get alot for your money.
Very nice! How was the Road Trip?
Considering one myself, next year. Hopefully all the political unrest stops.

