Greetings all;
Started this kit a couple years back.
Have taken it down from the shelf and started it once more, this last weekend. Was able to make some great progress.
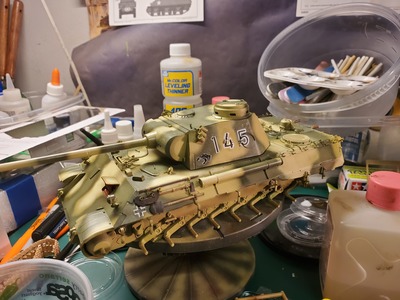
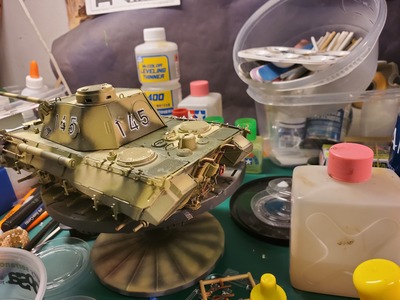
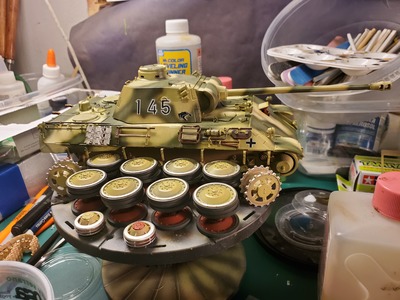
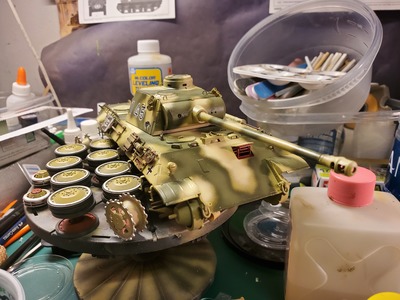
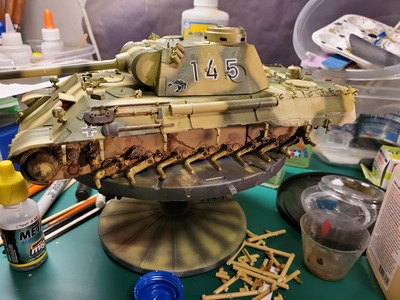
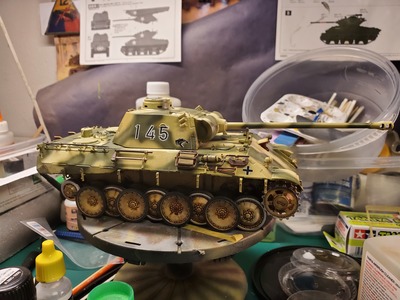
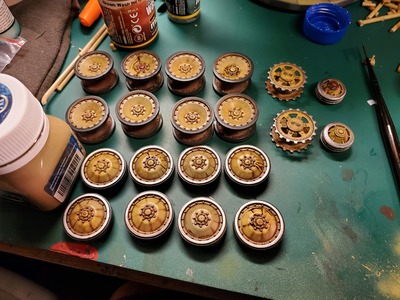
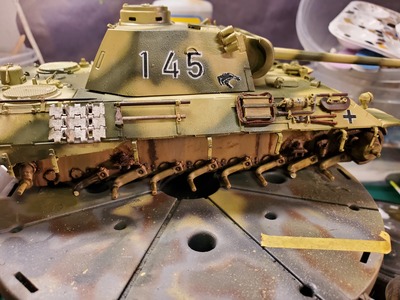
Used a mixture of Mission Models paint and Mig for the camo pattern. Went over it twice and then faded it. Used a Quick Wheels template for the roadwheels. The insides of the roadwheels i finished in MM Red Oxide, while finishing the outsides in Mid war Dunkelgelb.
Number markings were painted on using Alliance Model templates, after some trial and error.
As usual my airbrush was giving me issues, sputtering and crap🙄.
I'll figure it out.
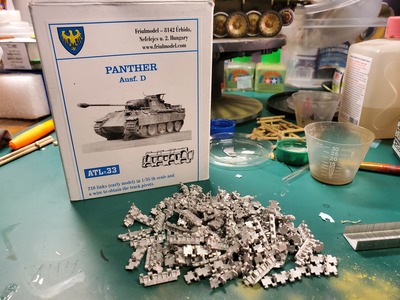
I can't stand the kits link tracks!
Going Fruilmodel route!
Take a look.🙂
All comments welcome!
That's giving me some ideas for the 1/16 scale panther in the stash but first is the T34/85 and before that is the repair depot.
I do like the camo detail 👍 👍
Thanks, I had to redo the camo pattern, as the airbrush was having issues. I'm satisfied with it and now will add very minimal chipping, as it was a new vehicle, and washes are up next as well as work to the roadwheels.
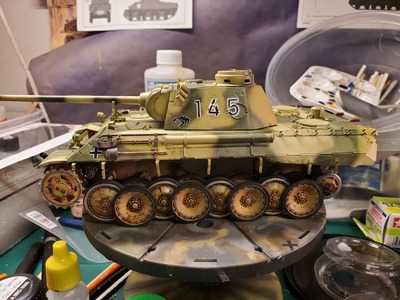
Some more progress on this kit over the weekend. Weathered lower hull and roadwheels individually, and installed them. Very agrivating, as I broke a couple of the parts on the suspension swing arms. Fortunately it was fixable, but it was made a little more difficult. Started the Fruils, but decided to call it a night. I was beginning to get a little aggravated, so enough was enough. More progress next weekend.
I do like how the brown wash looks and I see the damaged area... no one will even know after this is done


