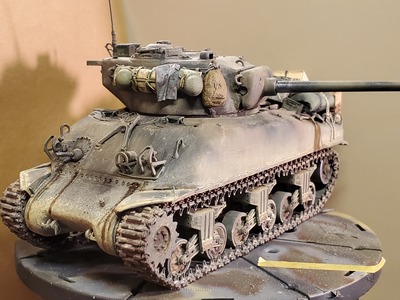
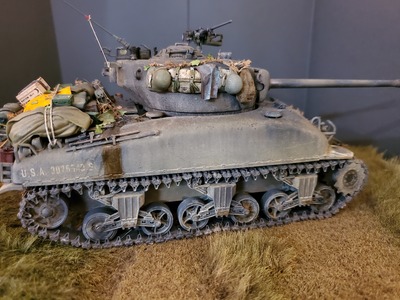
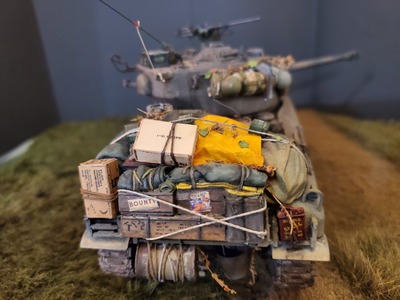
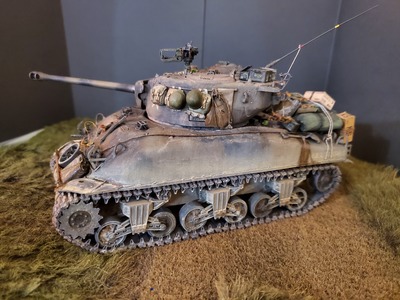
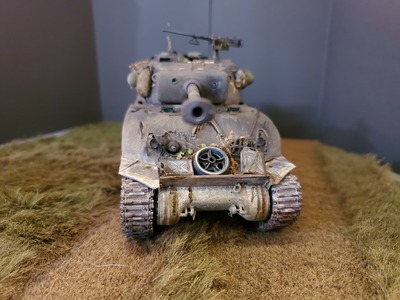
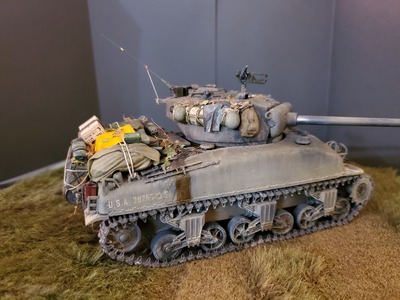
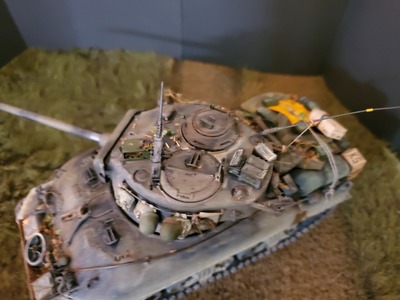
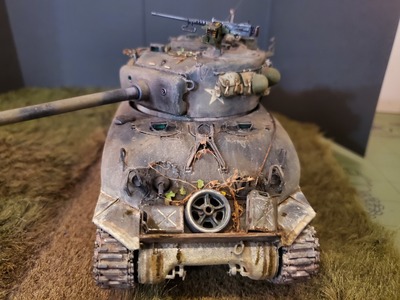
Greetings!
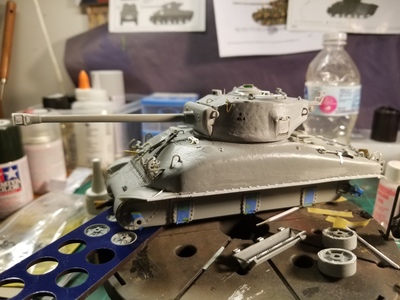
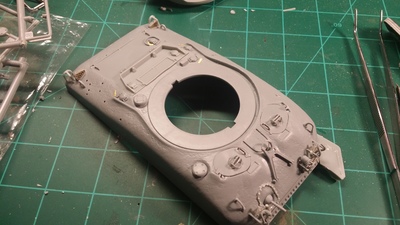
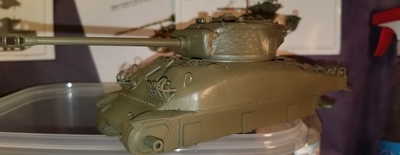
This kit's been on the shelf, well on and off for about 3 years now. I started it back in 2017. It's a decent kit and went together satisfactorily. There were some fit issues, and as some of you know with Dragon kits, the instructions are sometimes bad. The instructions for this one weren't great, but not terrible.
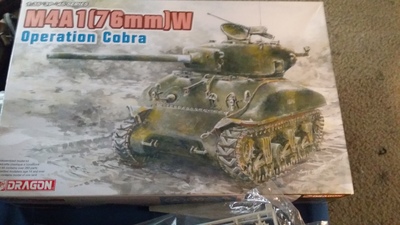
Here's the build sequence starting with the box art.
Anyway I've decide to finish this one up
. There have been a few errors and visible mistakes 
Let's begin and have a look.
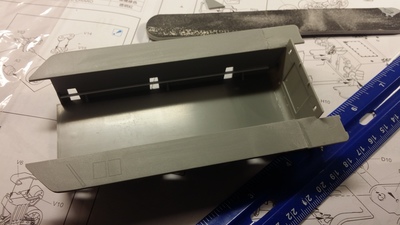
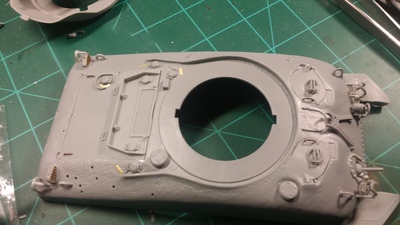
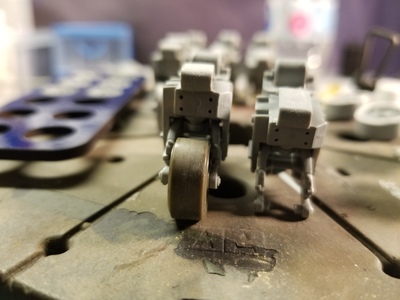
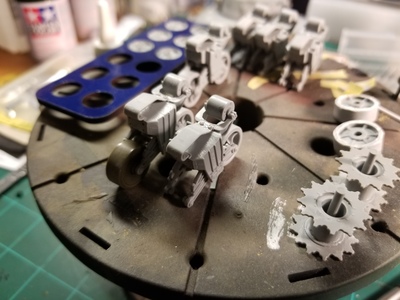
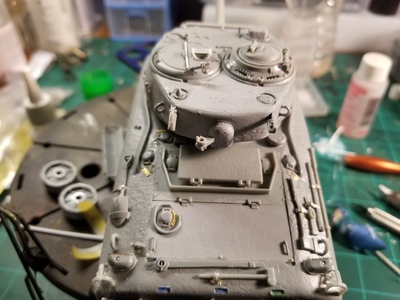
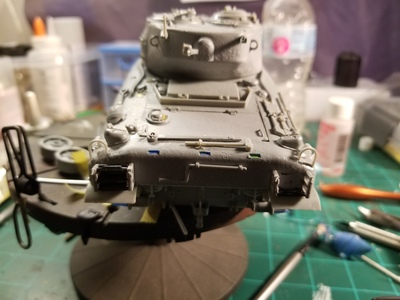
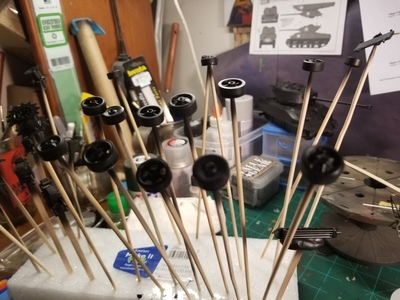
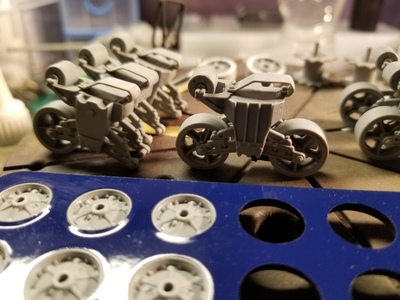
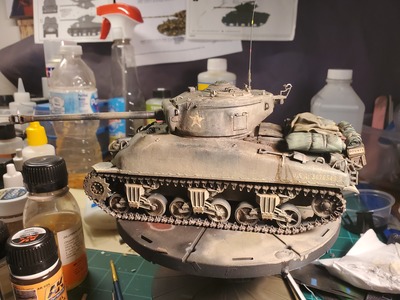
Here's the assembly process. A few add ons like some TMD photoetch items, Master Model M1919 brass barrel, and Adler Antenna were added as well as scratch built sand shield brackets, using Evergreen Plastics. Bogie assemblies were built, sanded and detailed accordingly, with lots of sanding and of course holes drilled.
Greetings;
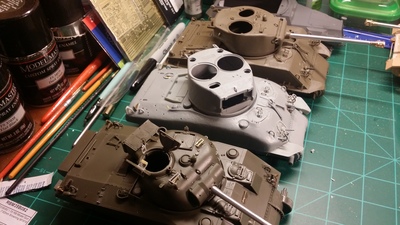
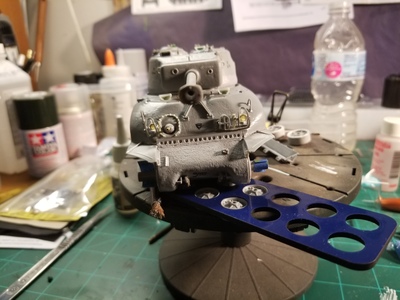
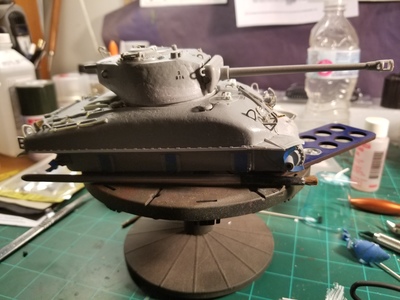
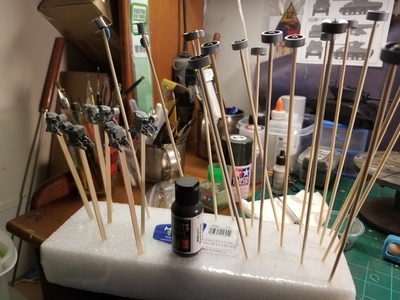
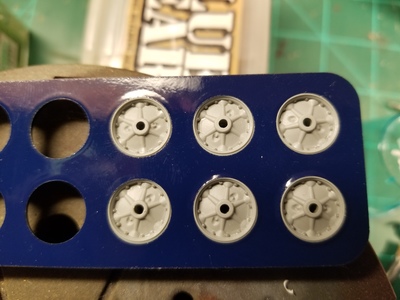
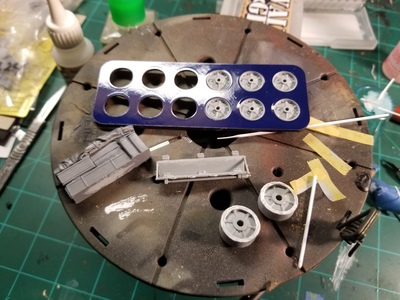
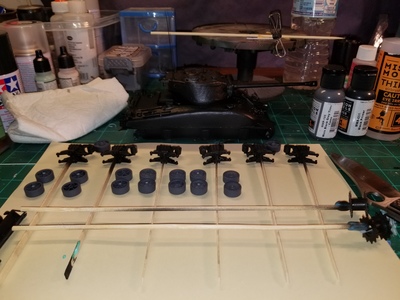
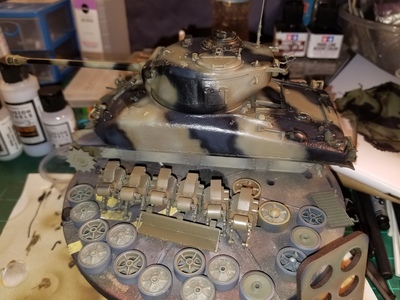
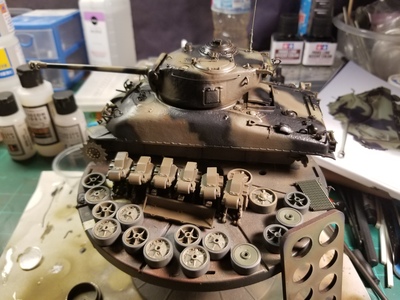
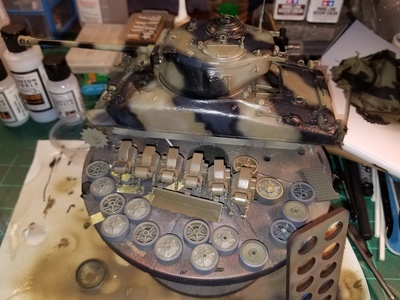
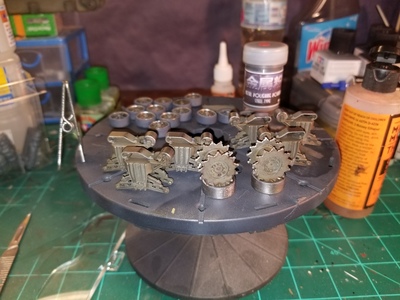
Here's part two of this build. As you can see tools and straps were added, complete kit was painted with Mission Models Black Primer. For the roadwheels I like to use Quick Wheel masks. They work great and I highly recommend them. I build my Sherman bogies a little different than every body else as I want to assure the assembly is completely painted. I always keep my roadwheels separate. I also test fitted the complete bogie assemblies.
Next was the OD, again I used Mission Models paints which went on smoothly.
Take a look.
Greetings all!
Here we are at Part 3;
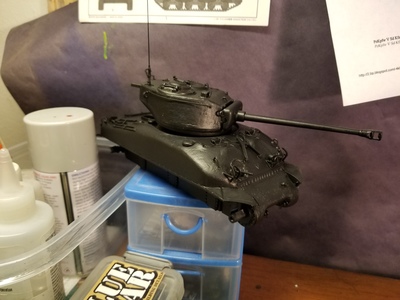
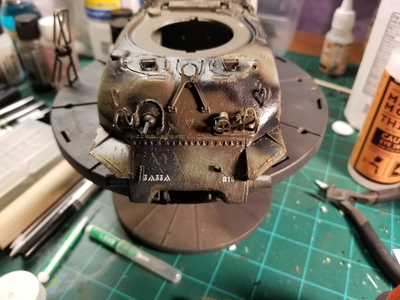
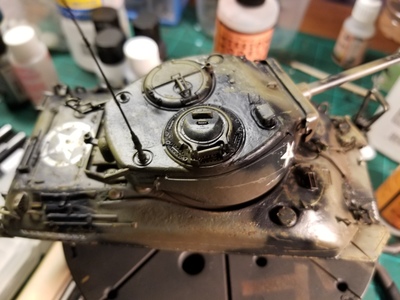
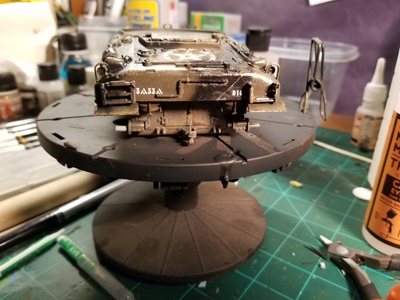
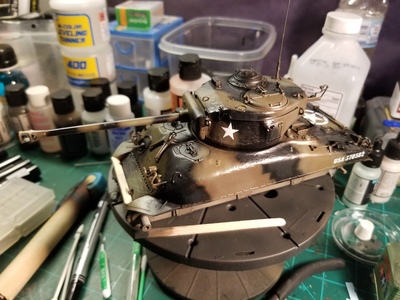
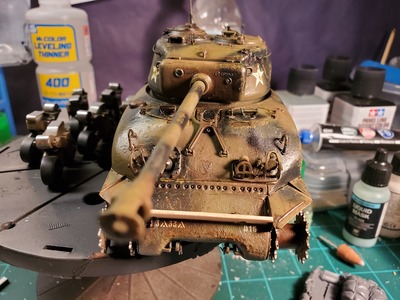
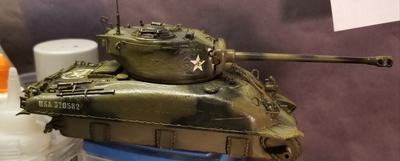
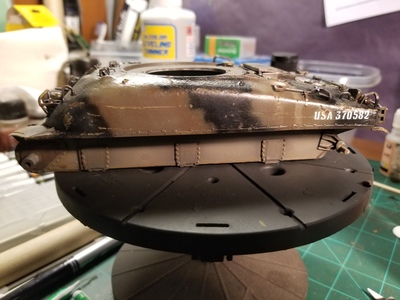
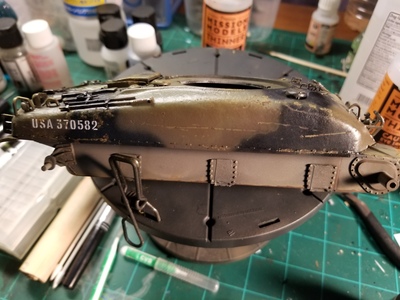
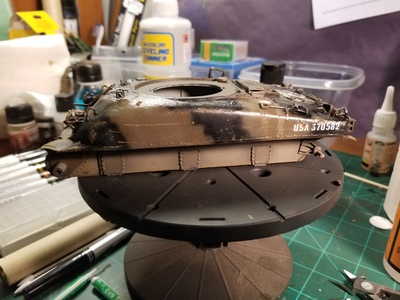
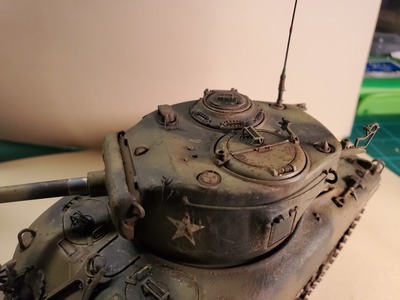
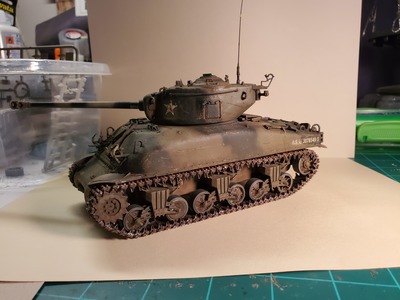
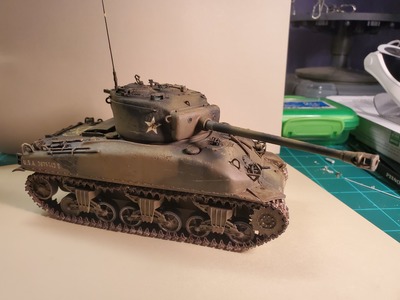
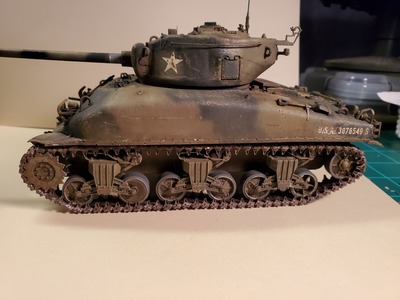
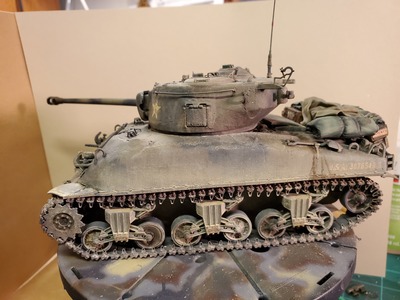
Decided on a late war Black and OD camo; oversprayed it with Mission Models Satin and decided to add decals and such. I regret this as the decals had terrible edge film for some reason and I removed the rear registration codes and damaged the paint
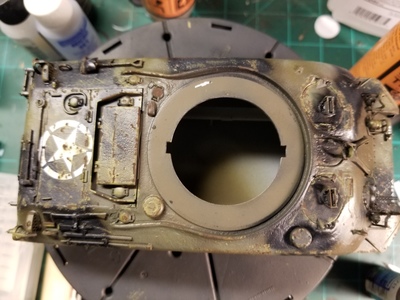
I also did som chipping and weathering to it.
Welcome to Part 4.
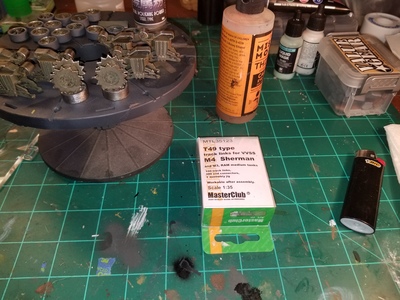
Some weathering and getting the tracks ready. I used Master Club 3
cleat Sherman tracks.
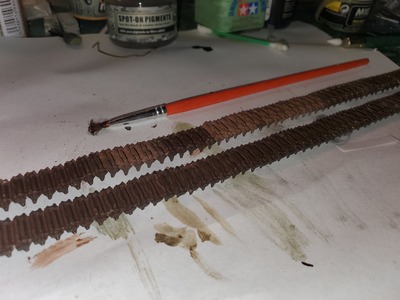
Tracks were blackened first using the Mig Blackening solution and then weathered using diluted pigments. Once completed i went over the raised track surface with sanding stick and Uschi polishing powders.
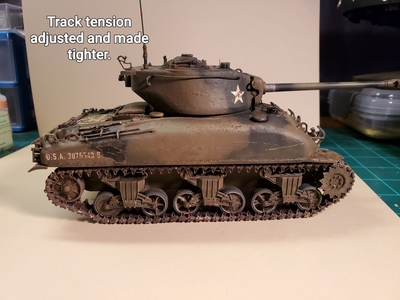
Test fitting of tracks. Removed a few links each side, to get a more taught look. Sherman's had a tight fit. Broke one of the idlers. Knew that was coming. Was able to do a repair. Its been holding good for awhile. Knock on wood!
Greetings all!
Welcome to part 5 of this build.
Removed some links from tracks, and refitted them.
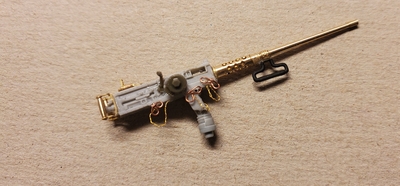
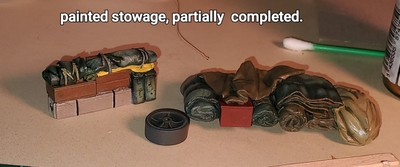
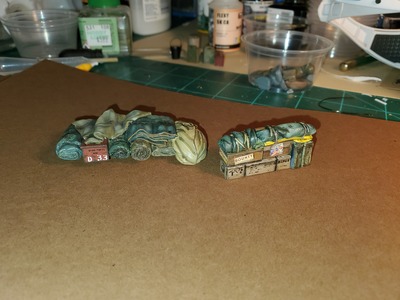
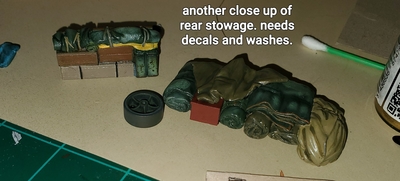
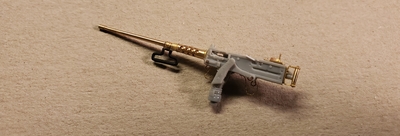
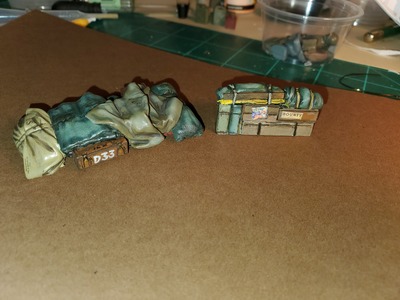
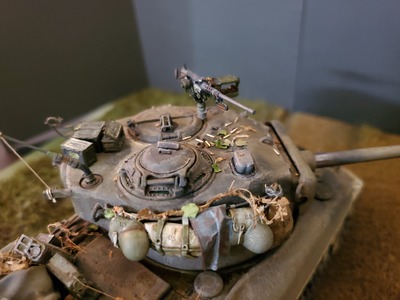
Worked on 'ma deuce' (M2 .50 Caliber MG) detailed it using a mixture of parts. Replaced barrel with aftermarket one from RB Models. Other parts are a mixture of scratch building, copper wire and such. Started painting stowage. Stowage is a mixture of Legends, ValueGear, Asuka U.S. jerrycans, Tamiya, and MiniArt.
Greetings all! Part 6!
Ok so I misted some Life Color dust pigment over the top and bottom of the vehicle. Wasn't happy with it and found a way to actually dilute it by spraying Mig Ultra Matt.
Here it is diluted and looks a helluva alot better. Don't get me wrong, I ve seen some colored (not recolor or colorized) of tanks in the field and my 'before' looked good, but not to me. I felt I was actually hiding details. Going to add more fuel, oil and other stains as well as finishing the .50 and stowage. Have some more items of stowage, like mussett bags with straps to the turret and such!
Ammo cans and ration boxes are done. Hopefully the end is near.
Greetings All! Part 7.
A rainy Florida day late in Hurricane season!
And what better activity but do some work today on this Sherman.
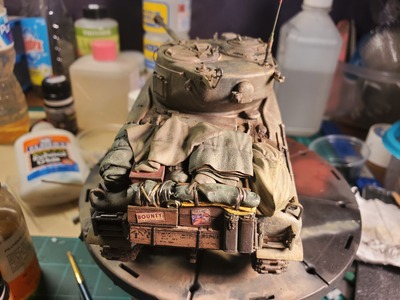
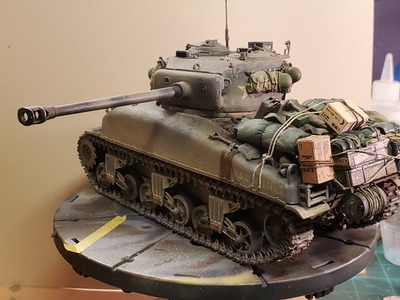
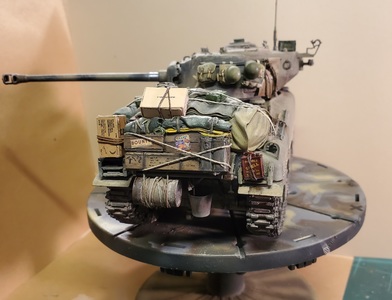
Here goes; got all the rear and turret stowage mounted. And there is a variety of it. After viewing many pictures of wartime Shermans of all variants, I decided to add alot of stowage, depicting a tank on the advance, and make it realistically attached with ropes and straps. I see when some folks add stowage, they just glue it on and leave it...no, no, no.. That doesn't work for me. Look at pictures and you'll see. As you'll see I also added fuel spills and wet effects, as well as leaking oil and such.
Coming up next after this, Part 8 and finale. I'll do the following;
1. Aerial Recognition panel on rear.
2. Tow Cable
3. .50 Cal and its offerings.
4. Front Stowage of spare roadwheel, and gas can, some slight weathering and that should be it.
Here's some pics for this part!
Take a look!
Looks fantastic... nothing like a small display to bring it to life
Thanks Ron. I'm trying to get all my Shelf Queens done! Looks like your making alot of headway on your dio!

