3D Forums

RFM M4A3 76W HVSS S...
 
Share:
Notifications
Clear all

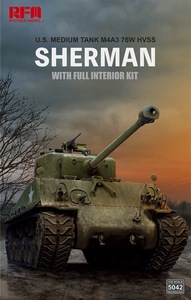
RFM M4A3 76W HVSS Sherman with Full Interior

Page 1 / 2

 Ron
(@ron)
Reputable Member Admin Registered
Joined: 5 years ago
Posts: 211
Topic starter  

Well the Tamiya M4A3E8 has been pushed back again as this Sherman made it here and will be after the Tamiya scout car and may go on the same depot diorama.

RMF00RM5042 5 d
RMF00RM5042 6 d
RMF00RM5042 0 d

   
ReplyQuote
Harold Adams
(@harold-adams)
Member
Joined: 5 years ago
Posts: 93
 

Wow! That looks quite nice.... and time consuming!😁 Looking forward to following that build. 👍👍


ReplyQuote
 Ron
(@ron)
Reputable Member Admin Registered
Joined: 5 years ago
Posts: 211
Topic starter  

I'm thinking a 2 tone camouflage  


ReplyQuote
 Ron
(@ron)
Reputable Member Admin Registered
Joined: 5 years ago
Posts: 211
Topic starter  

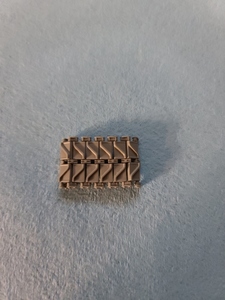
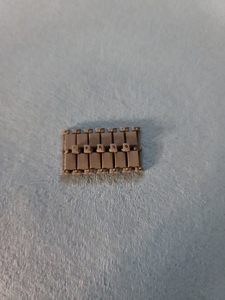
I could not help myself, just had to build a section of track just to see. Not bad after figuring out where the glue goes and you don't want to be in a rush to do this part.

20200712 111328
20200712 111319

   
ReplyQuote
Harold Adams
(@harold-adams)
Member
Joined: 5 years ago
Posts: 93
 

Ha! I knew you couldn't wait!😃

Once you get going on those tracks, its pretty easy. The glue I used was the Tamiya 87012, (orange bottle) with a different applicator, technically a piece of wire, so it wouldn't go in places it shouldn't. They work very nicely. Just have to pay close attention. Very little cleanup.

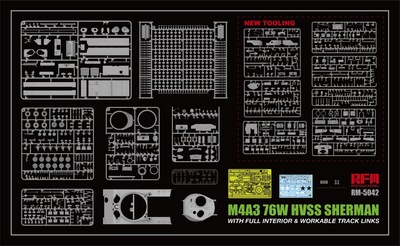
So I decided to splurge and buy this kit, along with a few accessories. Got it in the mail yesterday. A very large box indeed! High parts count (of course!😄) very intimidating 🙄😳, but doable. I just don't want to get burned out.😑🤯 Very impressive, and the photo etch is kept at a minimum, unlike they're  Panther series, just a small fret. Nice decals and such! 

I'm somewhat of a slow builder, but I eventually finish! 

Still got a few projects before this one, Blitz models Panzer III M, Dragon Panzer III J, Afv Club Tiger 1, Bronco Ram II, so I'll start building it around January '21.


ReplyQuote
 Ron
(@ron)
Reputable Member Admin Registered
Joined: 5 years ago
Posts: 211
Topic starter  

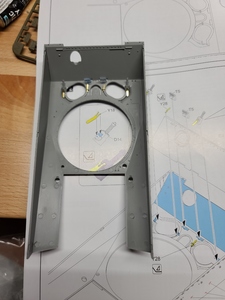
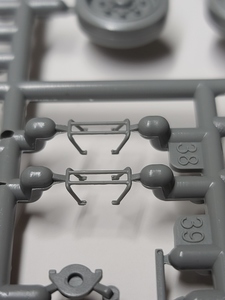
Well as I wait for the shipment I started back on the Sherman, Step 2 starts the PE. That was funny

20200802 183214


ReplyQuote
 Ron
(@ron)
Reputable Member Admin Registered
Joined: 5 years ago
Posts: 211
Topic starter  

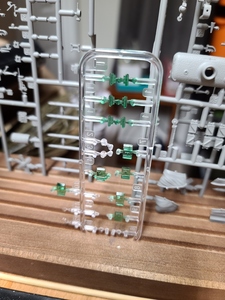
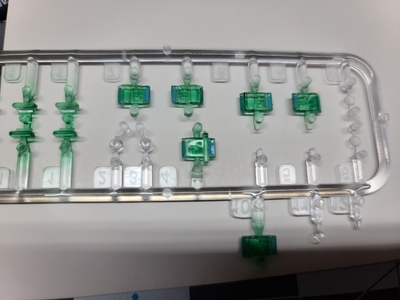
I figured the vision ports should be sprayed ahead of time with Alclad II Armoured Glass ALC 408 and then masked off rather then wait and it be more of a pain. It's nice to see you have and option to either use PE or plastic light and vision port guards, I'll try to do it all in PE if I don't mess it up. *grin*

20200803 071800


ReplyQuote
 Ron
(@ron)
Reputable Member Admin Registered
Joined: 5 years ago
Posts: 211
Topic starter  

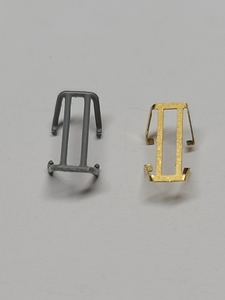
Well I changed my mind on PE to if the PE will look good and not flat looking. The vision guards will look very flat and not like rounded metal guards, there is even bolts on the plastic ones and just flat for the PE one.

20200806 191713
20200806 190830


So I'll look at the PE before going with it.... 


thoughts welcome


ReplyQuote
Harold Adams
(@harold-adams)
Member
Joined: 5 years ago
Posts: 93
 

I inspect the sprue parts before deciding. To be honest, I don't care for PE grab handles. I feel its not necessary to even have them made of photo etch brass at all. I purchased a resin ones from TMD and Shapeways. They're much better. Even some of the Dragon ones are better than PE. While PE has its merits in details, if i can get away not using it and the plastic part is good if not better, it gets used. Use the plastic ones..


Ron reacted
ReplyQuote
 Ron
(@ron)
Reputable Member Admin Registered
Joined: 5 years ago
Posts: 211
Topic starter  

Vision ports now masked off and now back on finishing the White scout car as the paints came in last night

20200807 073150

   
ReplyQuote
 Ron
(@ron)
Reputable Member Admin Registered
Joined: 5 years ago
Posts: 211
Topic starter  

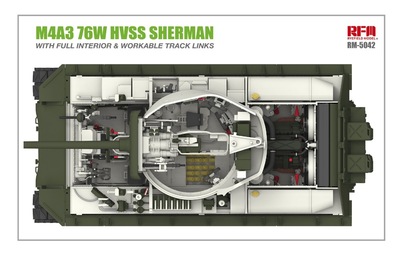
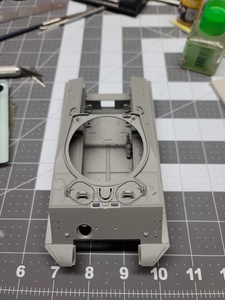
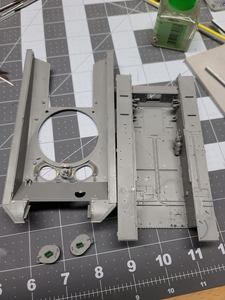
Looks like this will be like the jagdtiger and be painted as I go, even though you may not see all of it in the end. I will have it documented so we can at least see it plus I'm leaving the whole engine access area's open as this is in for repairs.

20200809 104202
20200809 104220

   
Harold Adams reacted
ReplyQuote
 Ron
(@ron)
Reputable Member Admin Registered
Joined: 5 years ago
Posts: 211
Topic starter  

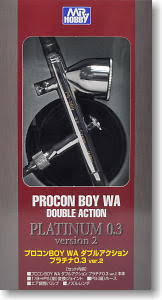
I picked up another Mr. Hobby airbrush over the weekend, it's a 0.3 

download

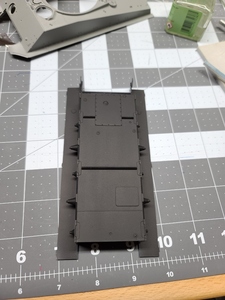
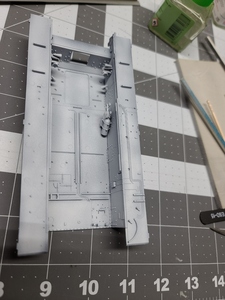
So it needed a test run and what better way the to spray Badger BADSNR-403 Stynylrez Acrylic Primers - Black and then for the interior Mission Models MMS-002 White Primer. Sprayed and cleaned up fantastic 👍 👍 

20200810 071445
20200810 071435


ReplyQuote
Harold Adams
(@harold-adams)
Member
Joined: 5 years ago
Posts: 93
 

@ronhow are the alclad paints? 


ReplyQuote
Harold Adams
(@harold-adams)
Member
Joined: 5 years ago
Posts: 93
 

Well I've got 'airbrush envy!' I'm using an Iwata airbrush for now. I've heard good things about that primer Badger. Where did you get your air brush from?


ReplyQuote
 Ron
(@ron)
Reputable Member Admin Registered
Joined: 5 years ago
Posts: 211
Topic starter  

@harold-adams

Alclad works  like mission models paint (in thin coats) but stinky, the airbrush was picked up at a gundam shop. I got a .2 and now the .3 from the same place. 


ReplyQuote
Page 1 / 2
Share:

Home

Comments are closed.